Table of Contents
Marigolds are often touted as one of the easiest flowers to grow from seed, but if you’ve ever faced trays of empty cells or seedlings that refuse to thrive, you know the reality can be frustratingly different. Especially when dealing with challenging conditions like heavy clay soil, getting those cheerful blooms started can feel surprisingly difficult. You’re not alone in wondering when to plant marigold seeds or why your efforts haven’t paid off.
This guide is for you. We’ll cut through the confusion, providing clear timing instructions for both indoor starting and direct sowing. More than that, we’ll tackle the common reasons for germination failure and stunted growth, offering practical, community-sourced troubleshooting tips. You’ll learn the critical importance of shallow sowing and get actionable advice specifically for successfully growing marigolds in clay soil.
Decoding Marigold Planting Times: When to Start Indoors vs. Outdoors
Understanding the right time to plant marigolds is the first crucial step. Timing relative to frost dates is key for both indoor and outdoor starting.
Why Frost Dates Dictate Your Marigold Planting Schedule
Your local last frost date dictates when to plant marigold seeds. This date signifies the average final spring frost. Marigolds are frost-sensitive; planting before this date risks seedling death because frost damages plant cells, disrupting water transport and leading to collapse. For accuracy, use local frost date resources like your local extension office or find your local frost dates here.
Starting Indoors: The Optimal Window
To start marigold seeds indoors, begin 6-8 weeks before your average last local frost. This gives your  seedlings a head start and protects them from late frosts. The controlled indoor environment—with stable temperature and moisture—promotes better germination rates and seedling vigor than unpredictable outdoor conditions. Timing your indoor start correctly is crucial for strong, healthy plants.
Direct Sowing Outdoors: When Is It Safe?
Planting marigold seeds outdoors requires caution. Sow directly outside only after all danger of frost has passed and the soil has warmed up. The soil temperature should consistently be above 60°F/15°C. Warm soil is essential for proper seed germination and healthy root development.
Climate Considerations
Planting times shift based on your climate zone. Warmer zones have earlier last frost dates and longer growing seasons than colder regions. Always check your local frost dates. Your climate zone significantly affects both the last frost date and the overall length of your growing season, highlighting the need to adapt planting schedules accordingly.
Indoor Start vs. Direct Sow: Choosing the Best Method for Your Marigolds
Deciding how to plant your marigolds involves comparing starting seeds indoors versus sowing directly in the garden.
Why Start Indoors? The Benefits
Starting marigold seeds indoors offers several advantages. You’ll enjoy earlier blooms, and your seedlings will be protected from harsh weather and pests. Indoor starting also gives you better control over germination, aligning with practices many successful gardeners use. Plus, it helps overcome short growing seasons, often leading to a higher success rate.
The Case for Direct Sowing
Direct sowing marigolds is undeniably simpler, requiring less equipment and eliminating transplant shock. However, it comes with potential drawbacks. Gardeners often report later blooms, and community experience suggests seedlings are more vulnerable to pests and weather. Also, you have less control over germination, especially in heavy or clay soil. While learning how to plant marigold seeds directly is easy, consider the trade-offs.
Is Indoor Starting Really Necessary?
While direct sowing works for some, many experienced gardeners find indoor starting more reliable, especially for beginners or those with short growing seasons or challenging soil like clay. Online gardening forums often suggest this method for increased success, particularly when overcoming common issues.
Making Your Decision
Several factors influence your planting method: your climate and growing season length, your soil type (especially if it’s clay), your available time, space, and equipment, your desired bloom time, and your experience level. For beginners or those with challenging conditions, the gardening community often recommends indoor starting for improving success rates.
How to Plant Marigold Seeds for Success: Step-by-Step Guide
These clear, step-by-step instructions cover both indoor and outdoor sowing, focusing on techniques for maximum success.
Gather Your Supplies
To start marigold seeds indoors, gather these essential supplies. Using a seed starting mix, rather than garden soil, is crucial because it’s sterile (preventing damping off) and its texture promotes drainage and healthy root growth. You’ll need:
- Marigold seeds (fresh recommended)
- Seed starting mix
- Containers (with drainage)
- Labels
- Water source
- (Optional) Grow lights, heat mat


Step-by-Step: Starting Seeds Indoors
First, moisten your seed starting mix and fill your containers. Then, sow your marigold seeds shallow! Surface sow or press gently into the mix. This is crucial because burying seeds too deep deprives them of light and oxygen, leading to rot. Lightly cover the seeds and water gently. A humidity dome helps maintain consistent moisture for germination. Finally, place the containers in a warm spot.
Step-by-Step: Direct Sowing Outdoors
When the soil is warm and the danger of frost has passed, you can direct sow. If you have clay soil, amend it first to improve drainage and aeration for successful growing marigolds clay soil. Ensure the soil is warm and all danger of frost has passed. Sow the seeds shallow! Again, this is critical. Lightly cover the seeds, water gently, and keep the soil moist. Then, watch for your marigold seedlings to emerge.
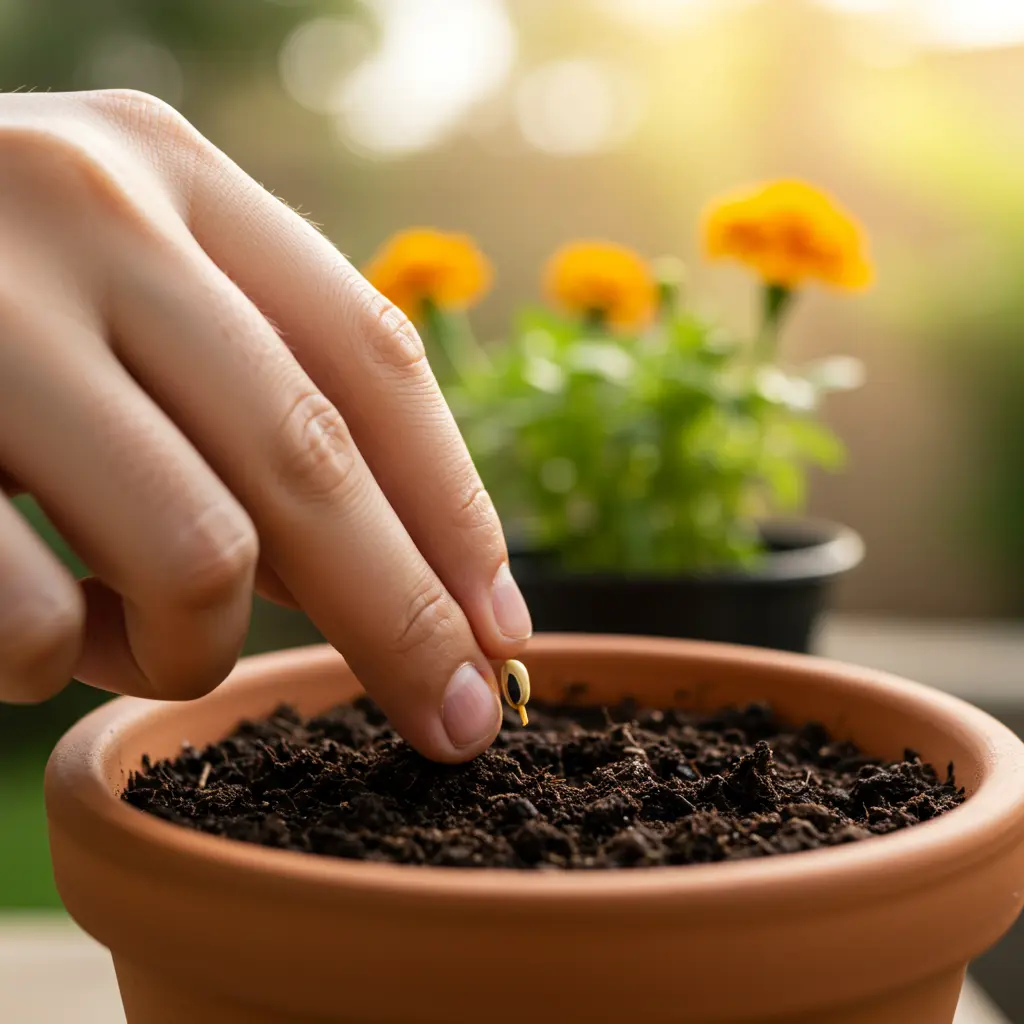
The Golden Rule: Planting Depth
Sow marigold seeds very shallowly – this is perhaps the most common mistake beginners make. A maximum depth of 1/8 inch (3mm) is ideal. Light aids germination for some marigold varieties. Deep planting prevents sprouting and can cause rot. How deep is too deep to plant marigold seeds? Anything deeper than 1/8 inch risks hindering marigold germination. Shallow plant marigold seeds for best results.
Watering for Germination
For successful marigold germination, maintain consistent moisture—think damp like a wrung-out sponge, not waterlogged. Use a gentle watering method, such as a mist or spray bottle, to avoid dislodging shallow seeds. Consistent moisture prevents the seeds from drying out, while gentle watering keeps them in place.
Light and Warmth (Indoor Starts)
When you start marigold seeds indoors, maintain a temperature of 70-75°F (21-24°C). A heat mat can help if needed. Warmth activates enzymes essential for germination. After sprouting, strong light—from grow lights or a sunny window—prevents leggy growth and ensures sturdy seedlings.
Troubleshooting: Why Aren’t My Marigold Seeds Growing? (Common Problems & Fixes)
Are your seeds refusing to sprout or seedlings failing to thrive? Many gardeners face these issues.
The ‘Easy vs. Hard’ Paradox
Marigolds have a reputation for being easy, but many gardeners experience challenges, especially at the germination stage. You’re not alone if your marigold seeds not growing. Seemingly simple factors—planting depth, moisture, soil type, and seed age—are often the culprits, as highlighted in many gardener discussions.
Problem: Seeds Never Sprouted
Troubleshooting Checklist: No Germination
- Planting Depth (Too deep?): Seeds sown too deep lack the light and oxygen they need to sprout. Aim for shallow sowing.
- Moisture (Too wet/dry?): Marigold seeds need consistently moist (not soggy) soil to germinate.
- Temperature (Too cold?): Cold temperatures can hinder marigold germination problems.
- Seed Quality (Old?): Fresh seeds are key. Old seeds have lower viability, contributing to marigold seeds not growing.
- Soil Contact (Poor?): Ensure good contact between the seed and the soil.
Problem: Seedlings Sprouted but Died or Stalled
Why do my marigold seeds sprout but not grow? Two common culprits are damping off and insufficient light. Damping off occurs when the seedling stem shrivels at the soil line.  This is often caused by overwatering, poor air circulation, and non-sterile potting mix, which promote fungal growth. Reduce watering, increase airflow, and use a sterile mix to combat this issue. Leggy seedlings (long, weak stems) indicate insufficient light; the seedling stretches desperately seeking light, resulting in weak growth. Provide stronger light to prevent this. Addressing these factors can prevent marigold germination problems and ensure continued growth.
Seed Quality Matters
Seed viability decreases over time. Use fresh seeds, especially if you’ve had marigold germination issues before. Saved seeds, particularly from hybrid or African marigold varieties, may have lower viability due to genetic instability or improper storage. Buying fresh marigold seeds from reputable seed suppliers is often the best approach.
Tips from the Community
Quick Tips from Fellow Gardeners for Better Germination
- Heat Mat: Fellow gardeners often recommend using a heat mat to maintain consistent warmth during germination.
- Firm Contact: Ensure good seed-to-soil contact by gently pressing the seeds down.
- Humidity Dome: Online gardening communities suggest using a humidity dome or plastic wrap to create a humid environment, which can aid germination and prevent marigold germination problems.
Special Focus: Successfully Growing Marigolds in Clay Soil
Clay soil presents unique hurdles for marigolds, but specific techniques can help overcome drainage and compaction issues.
The Clay Challenge
Clay soil can be tough on marigolds, especially seeds and seedlings.  Its poor drainage can lead to root rot and damping off, a fungal disease that kills young seedlings. The dense, compacted nature of clay also hinders root development, making it hard for seedlings to establish themselves. Additionally, clay soil warms slowly in spring, further delaying germination and contributing to weak growth. Understanding these challenges is the first step to success when growing marigolds clay soil.
Improving Your Clay Soil
What’s the best way to improve clay soil for marigolds? The key is adding organic matter. Mix in generous amounts of compost, well-rotted manure, or leaf mold. These amendments work wonders by binding clay particles into larger aggregates, creating crucial pore space for air and water to circulate. This improves both drainage and soil structure, making it easier for marigold roots to grow. Avoid the common misconception of adding sand to clay soil—this can actually create a concrete-like substance. When amending, improve a wide area, not just the individual planting hole, for best results when growing marigolds clay soil.
Bypassing the Problem
If amending your clay soil seems daunting, raised beds or containers offer effective workarounds. Filling them with a well-draining potting mix provides complete control over the growing medium, ensuring ideal conditions for your marigolds and bypassing clay soil challenges altogether. This practical solution is often recommended by gardeners dealing with difficult native soil.
Planting Directly in Clay
If you must plant directly into unamended clay soil, here are a few tips:
- Plant on mounds: Create slight mounds or ridges for planting to improve drainage around the roots.
- Use transplants: Opt for robust transplants with stronger root systems better able to penetrate clay, instead of sowing seeds directly.
- Mulch well: Apply a layer of mulch to help retain moisture and suppress weeds.
Next Steps: Caring for Your Young Marigold Seedlings
Once your seeds have sprouted, proper care ensures they transition into strong plants. This includes the crucial hardening off process.
Acclimating Your Seedlings
“Hardening off” is the process of gradually introducing your indoor seedlings to the outdoor environment. This vital step prevents transplant shock and sunburn by allowing plants to toughen up. During hardening off, physiological changes occur, such as cuticle thickening and adjustment to UV light, preparing them for outdoor life.
How to Harden Off
Gradually acclimate your seedlings to outdoor conditions. Start by placing them in a shaded outdoor location for 1-2 hours. Over 7-10 days, slowly increase their exposure to sunlight and time outdoors. Initially, bring them back inside at night and always protect them from harsh weather. Rushing this process can lead to sunburn and transplant shock—a crucial tip shared among gardeners.
Transplanting Outdoors
After hardening off and once the danger of frost has passed, you’re ready to transplant. Choose a cloudy day or late afternoon to minimize water loss and stress. Gently handle the seedlings and plant them at the same depth they were in their containers to prevent stem rot or exposed roots. Correct planting depth, just like when sowing seeds, is crucial. Water them well after transplanting.
With proper care during these early stages, your marigolds are well on their way to vibrant blooms.
Knowing precisely when to plant marigold seeds—whether starting indoors 6-8 weeks early or waiting until after the last frost outdoors—sets the stage for success. But as many gardeners discover, timing isn’t the whole story. Choosing the right method, mastering that crucial shallow sowing technique (no deeper than 1/8 inch!), and understanding how to troubleshoot common germination issues like poor moisture control or old seeds truly makes the difference. This is especially true when facing challenging conditions like heavy clay soil.
This guide tackled those frequent frustrations, moving beyond basic advice to address why these supposedly easy flowers can sometimes fail. Armed with insights on proper timing, depth, moisture, soil preparation for clay, and troubleshooting tips, you’re now equipped to overcome past hurdles. Give those marigolds another try; vibrant blooms are well within your reach.
