Table of Contents
Winter is here, but those bare patches in your lawn are still staring back. You might wonder, “Is there anything I can do now, or do I have to wait until spring?” It feels counterintuitive, but yes, you can plant grass seed in the winter. This technique, known as dormant seeding, sparks a lot of debate – some homeowners swear by it for getting a head start, while others worry about wasted effort and expensive seed. You’ve likely heard conflicting advice, and that’s understandable.
This guide cuts through the noise. We’ll explain exactly what dormant seeding is, why it can work for cool-season grasses, address the realistic success rates (because they aren’t guaranteed!), and provide clear, actionable steps for doing it effectively, whether you’re going for a minimal effort approach or best practices. Ready to see if dormant seeding is the right move for your lawn this year?
Understanding Dormant Seeding: Can You Really Plant Grass in Winter?
Wondering if you can plant grass seed in winter to tackle those bare spots? The answer is yes, through a technique called dormant seeding. A PlantMD horticultural expert confirms, “It’s a common question, and the answer is yes – you can plant grass seed in winter! This technique, known as dormant seeding, allows seeds to settle in over winter and be ready for early spring germination.” This section delves into what dormant seeding entails, the science making it effective, and the ideal grass types for this method, giving you a solid foundation to decide if it’s right for your lawn.

Defining Dormant Seeding
Dormant seeding involves sowing grass seed in late fall or winter when the soil is consistently too cold for germination—typically below 50°F (10°C)—but not yet deeply frozen. Unlike traditional fall seeding where seeds sprout before winter, these seeds remain inactive. They patiently wait through the cold, ready to spring to life when warmer temperatures and moisture arrive. This method relies on the soil being cold enough to prevent premature sprouting. learn more about dormant seeding principles
The Science Behind Winter Sowing
How do seeds survive the winter chill? Their secret lies in extremely low metabolic activity; they are essentially asleep and require minimal energy. As winter progresses, the natural freeze-thaw cycles of the soil can actually help. These cycles gently work the seeds into the ground, improving crucial seed-to-soil contact. Then, as spring arrives, the combination of increased moisture and rising soil temperatures signals the seeds to break dormancy and begin germination.
Best Grasses for Dormant Seeding
Dormant seeding is most effective with cool-season grasses. These types are ideal for winter grass seeding because they tolerate cold and germinate well in cool spring conditions. Consider these options:
- Fescue
- Kentucky Bluegrass
- Perennial Ryegrass characteristics of cool-season grasses
Warm-season grasses, like Bermuda or Zoysia, generally don’t fare well with this method in colder climates as they need warmer soil to sprout and thrive.
With a clear understanding of dormant seeding, you’re now ready to evaluate if it’s the right choice for your specific lawn needs.
Is Dormant Seeding Right for Your Lawn? Pros, Cons, and Realistic Success Rates
Is dormant seeding a good fit for your lawn? This chapter weighs the advantages and disadvantages, discusses realistic success rates, and outlines key factors influencing the outcome, helping you make an informed decision.
The Upsides: Advantages of Dormant Seeding
Dormant seeding offers several appealing benefits if you’re looking to improve your lawn. A primary advantage is giving your grass a significant head start on spring growth, leading to a healthier lawn sooner.  Other upsides include:
- Natural Soil Contact: Utilizes winter’s natural freeze-thaw cycles to gently work seeds into the soil.
- Less Initial Watering: Often requires less intensive watering initially compared to spring seeding.
- Good for Repairs: Excellent for overseeding thin turf or patching bare spots effectively.
The Downsides: Potential Risks and Disadvantages
While offering benefits, it’s important to understand the potential drawbacks. A common concern is wasting seed, as germination rates can be lower than with optimal fall seeding. Unpredictable winter weather also plays a role.
- Variable Germination: Success can be less predictable, with potentially lower germination rates.
- Seed Loss: Seeds might be lost to washout from rain/snowmelt, eaten by birds, or rot if conditions are too wet.
- Premature Sprouting: An unseasonable warm spell could cause early germination, followed by a killing freeze.
Setting Realistic Expectations: Success Rates
What is the actual success rate of dormant grass seeding? Success rates are variable and often lower than with traditional fall seeding. PlantMD horticultural expert states, “While dormant seeding offers a great head start, it’s true that success rates can be more variable than traditional fall seeding. Key factors like weather, good seed-to-soil contact, and quality seed play a huge role in the outcome.” Homeowners often report mixed results, reflecting this. The dormant seeding grass success rate depends heavily on winter weather, soil preparation, seed quality, and protection. While not a guaranteed fix, it can be effective when these elements align.
Factors That Make or Break Success
Several critical elements determine whether your dormant seeding efforts will pay off. Experts and experienced gardeners agree on these key factors:
- Correct Timing: Seeding when soil temperatures are consistently below 40°F but before the ground freezes solid.
- Proper Seed Choice: Using high-quality cool-season grass seed suitable for your region.
- Good Seed-to-Soil Contact: This is crucial; seed must touch prepared soil for germination.
- Favorable Site Conditions: Adequate sunlight and good drainage are important for new seedlings.
- Winter and Spring Weather: Mild winters and gentle, consistently warming spring conditions are ideal.
Making the Call: Is It Worth It?
Deciding if dormant seeding is worth the effort involves weighing these pros and cons against your specific lawn situation, your willingness to invest effort, and your tolerance for risk. Consider if the potential for an earlier spring lawn outweighs the chances of lower germination. For many, especially those with patchy areas or who missed fall seeding, it’s a viable option when conditions are favorable and expectations are realistic.
Now that you’ve considered if dormant seeding is a good fit, you’re ready to learn the step-by-step process for success.
Your Step-by-Step Guide to Dormant Seeding Success
Ready to give dormant seeding a try? This chapter provides clear, step-by-step instructions, covering everything from choosing your seed and timing it right, to preparing your soil and sowing the seeds. Follow these guidelines for a great start to your spring lawn.
Step 1: Choosing the Right Grass Seed for Winter Sowing
Your first practical step is selecting the correct seed. For winter sowing, opt for high-quality, fresh cool-season grass seeds like fescue, Kentucky bluegrass, or perennial ryegrass; these varieties are best suited for this method. Consider your existing lawn to choose a seed that will blend well for a uniform appearance. Using fresh, top-grade seed is crucial as it significantly improves germination rates and the overall health of your new grass.
Step 2: Determining the Best Timing for Dormant Seeding
Timing is critical to prevent seeds sprouting prematurely. Aim for when soil temperatures are consistently below 50°F (10°C), but the ground isn’t frozen solid if soil prep is needed. A PlantMD horticultural expert notes, “The sweet spot for dormant seeding is when soil temperatures are consistently below 50°F, but the ground isn’t frozen solid if prep is needed. This prevents premature sprouting while allowing seeds to settle in before spring.” Is it better before the first snow or last? Sowing before early winter snow can help press seeds into soil; late winter seeding (before final snows) offers less time for seed loss.
Step 3: Preparing Your Lawn and Soil (Minimal vs. Thorough Prep)
Good seed-to-soil contact is crucial for seeds to absorb moisture and anchor properly, so avoid simply tossing seed onto unprepared ground. For minimal prep, simply rake away leaves and debris.  This approach can be effective, especially for certain seeding techniques without extensive tilling. For more compacted soil, consider a thorough prep: light dethatching or core aeration, followed by a gentle raking to loosen the top 1/4 inch of soil. Even light raking significantly improves contact and your chances of success.
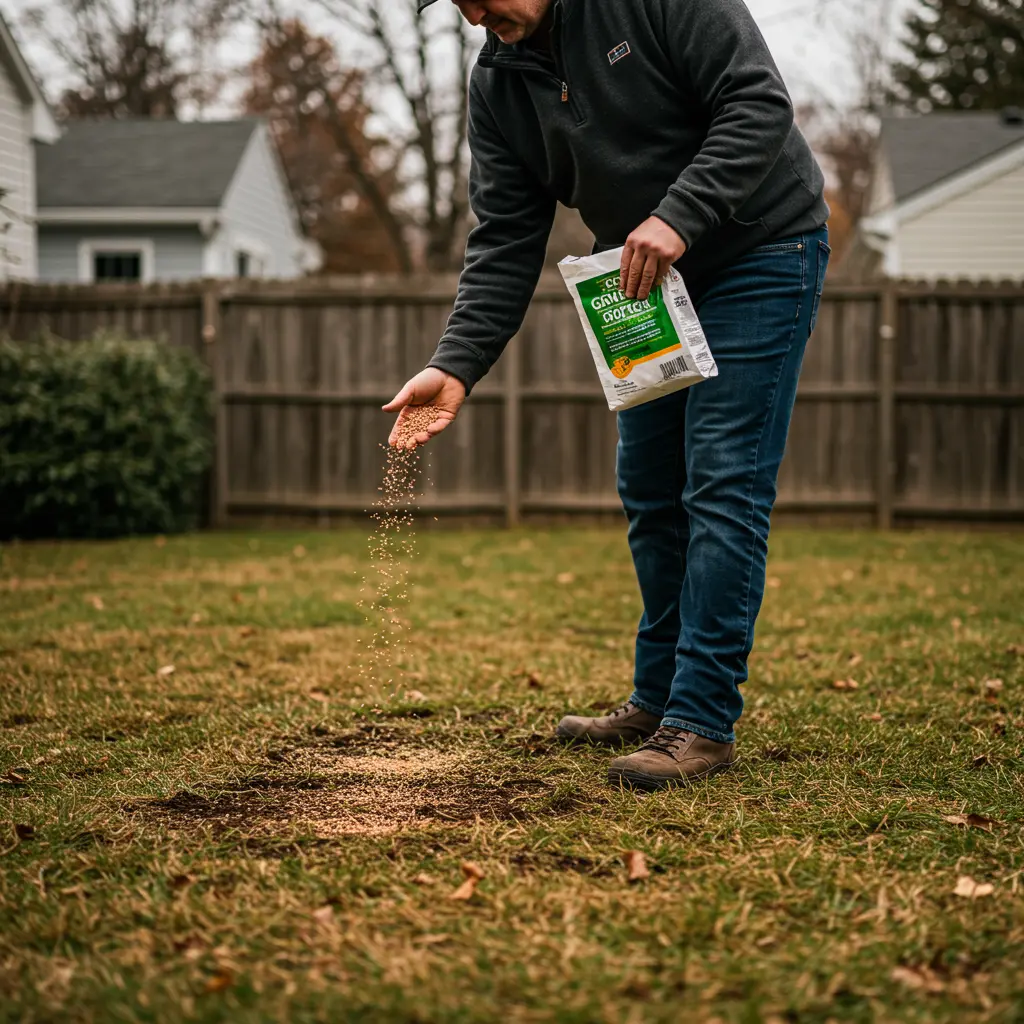
Step 4: The Seeding Process – How to Sow Grass Seed Effectively
Spread your chosen seed evenly across the prepared area. You can do this by hand for small spots or use a broadcast or drop spreader for larger lawns. Follow the recommended seeding rate on the seed bag, though consider applying it slightly higher for dormant seeding to compensate for potential winter losses. If you’re overseeding a patchy lawn, focus on bare spots while ensuring an even distribution overall.
Step 5: To Cover or Not to Cover? Protecting Seeds in Winter
A common question is: “Do I need to cover grass seed if I plant it in winter?” Covering can offer protection from birds and erosion, and help retain moisture. However, it might be unnecessary if consistent snow cover is expected, and a thick covering can sometimes mat down and hinder growth. If you choose to cover, use a very light layer of materials like peat moss, compost, or clean straw. The emphasis is on very light – just enough to barely obscure the seed, preventing matting and ensuring sunlight can reach emerging seedlings in spring.
Step 6: Watering Considerations for Dormant Seeding
Generally, you do not need to water after dormant seeding if the ground is cold or frozen. Natural winter precipitation like snow and rain will typically provide sufficient moisture. The key moisture period will be in the spring when temperatures rise. Importantly, avoid watering if it might create icy conditions on your lawn, which could harm the seeds or make the area hazardous.
By following these steps, you’ve laid the groundwork for successful dormant seeding. Now, let’s explore some tips for maximizing your results and troubleshooting any common issues that might arise.
Maximizing Success & Troubleshooting Common Dormant Seeding Issues
To further boost your chances of a lush spring lawn, this chapter offers advanced tips and troubleshooting advice for overcoming common dormant seeding challenges.
Pro Tips for Better Results
To further boost your dormant seeding outcomes, consider these expert strategies for enhancing germination and vigor:
- Improve seed-to-soil contact: A PlantMD horticultural expert notes that “using a slit seeder can significantly improve seed-to-soil contact and subsequent germination rates,” especially on compacted soil.
- Select disease-resistant cultivars: These varieties offer natural hardiness, promoting healthier spring growth.
- Check soil pH: Balanced pH, while less critical for the seeding itself, supports nutrient uptake for seedling vigor later.
Learnings from the Lawn Community
Fellow gardeners often share valuable insights. Here are popular community tricks, though remember results can vary:
- Seed on light snow: Some find scattering seeds on thin snow helps visualize coverage; melting snow can aid seed contact.
- Use leftover seed: For hesitant beginners, trying dormant seeding with leftover seed is a low-risk experiment.
- Note local timing: See when others in similar climates succeed, but adapt to your specific conditions. This approach works for some but isn’t guaranteed.
Problem Solved: Seed Washout or Pest Issues
Problem: Seeds washing away or being eaten?
Solution: To reduce washout from rain or melt, choose flatter areas and apply a very light covering like peat moss. This can also deter birds and squirrels. Timing seeding before expected snow helps too. While some seed loss is normal and expected, these practical strategies can significantly mitigate the issue and reassure you.
Problem Solved: Disappointing Spring Growth
Problem: Poor germination or patchy spring growth?
Solution: Assess potential causes: was there poor seed-to-soil contact, did you use the wrong seed type, or was the winter unusually harsh or spring too dry? If initial results are patchy, don’t worry. You can manage expectations by planning for a light overseeding in early spring to fill in any gaps and boost lawn density effectively.
Problem Solved: Early Sprouting & Freeze
Problem: Seeds sprouted early during a warm spell, then froze?
Solution: This is a known risk caused by unseasonal warmth. The best prevention is ensuring soil temperatures are consistently cold (below 40°F) before seeding. Once sprouted and frozen, little can be done, though some seedlings might survive. This highlights the risk and underscores the importance of proper initial timing.
Protecting Your Winter-Sown Seeds
To best protect your winter-sown seeds, employ these practical strategies:
- Prioritize seed-to-soil contact: This is crucial to prevent seeds from washing away or drying out, offering primary protection.
- Use a light covering: A thin layer of compost or peat moss can insulate and deter birds.
- Seed before light snow: Anticipated snowfall can gently press seeds into the soil.
While these steps help, remember that some minor seed loss is possible.
With these advanced tips and troubleshooting solutions, you’re well-prepared to maximize your dormant seeding success. To further safeguard your efforts, understanding what not to do is equally important, which we’ll cover next by exploring critical dormant seeding pitfalls.
Critical Don’ts: Avoiding Common Dormant Seeding Pitfalls
Don’t let common mistakes undermine your dormant seeding efforts. This chapter highlights critical pitfalls to avoid, ensuring your winter-sown seeds have the best chance to thrive in spring.
Mistake #1: Using Spring Pre-Emergent Herbicides on Seeded Areas
CRITICAL WARNING: Spring pre-emergents on seeded areas prevent ALL seed germination, including your new grass. PlantMD horticultural expert notes, “A crucial mistake to avoid after dormant seeding is applying a spring pre-emergent herbicide to the seeded areas. These products will prevent your new grass seeds from germinating just as effectively as they stop weed seeds.” Therefore, avoid applying them to areas where you’ve dormant seeded.
Mistake #2: Choosing the Wrong Grass Type (e.g., Warm-Season Grasses)
Remember, dormant seeding is exclusively for cool-season grasses. Attempting this with warm-season types like Bermuda or Zoysia in cold climates will likely fail, as they cannot survive winter sowing conditions. Stick to appropriate cool-season varieties for success.
Mistake #3: Neglecting Proper Seed-to-Soil Contact
Avoid just tossing seed on unprepared ground or thick thatch. For seeds to survive winter, good seed-to-soil contact is vital for moisture absorption and anchoring; this is crucial for achieving seed-to-soil contact with minimal tilling.
Mistake #4: Seeding on Deeply Frozen, Waterlogged, or Improperly Prepared Ground
Don’t seed on ground that’s already frozen solid if soil preparation is still needed, or on perennially waterlogged spots where seeds will rot. Also, avoid seeding overly compacted soil without any prior loosening, as germination will be poor.
Mistake #5: Having Unrealistic Expectations for Immediate Spring Results
Understand that dormant seeding results vary; it’s about getting a head start, not achieving a perfect lawn instantly in spring. Managing expectations is key. Avoiding these common pitfalls significantly boosts your chances for successful spring growth.
By steering clear of these common pitfalls, you’re now well-equipped to confidently undertake dormant seeding and look forward to a greener lawn next spring.
Planting grass seed in winter no longer needs to be a gamble. This guide has demystified dormant seeding, revealing it as a practical path to a lusher spring lawn when approached with informed expectations. You’re now equipped with the essentials: selecting appropriate cool-season grasses, pinpointing the right seeding window, ensuring crucial seed-to-soil contact, and sidestepping common errors. By balancing expert recommendations with diverse community experiences, you can confidently determine if this method aligns with your lawn’s needs and your commitment. Give your lawn that winter advantage, and don’t forget to share your journey and results in the comments below!
